
It’s all very well telling people to back up their Mac. But human nature means that searching for backup advice is something that usually happens after the worst has already happened.
Hopefully, you’ll be able to fix the damaged drive and get your data back by following our advice, but we will also cover what you need to know about crashing without a backup and how to recover data from damaged hard disk or an external drive.
This guide is also relevant if you have accidentally deleted a file. Deleted files can be retrieved too, but only if they haven’t been overwritten. Once the part of the disk with the data is overwritten, nothing can get it back.
How to repair a failed Mac hard disk with Disk Utility
If you are very lucky your hard drive or SSD isn’t beyond repair and you will be able to fix the problem yourself and therefore get access to your files.
Apple’s Disk Utility application (located in your Mac’s Applications > Utilities folder) isn’t the greatest repair tool for your Mac’s hard drives, but it can head off small problems before they get worse.
If your drive is having problems and you become aware of this before the machine crashes, or if you manage to get it up and running again (or in the case of an external drive your Mac is able to detect it), the first thing to do is launch Disk Utility, select the drive and run First Aid to check the volume for errors. Here’s what to do:
- Open Disk Utility – You’ll find this in the Utilities folder, inside your Apps folder or by searching for it using Spotlight Search. (Press Command+Space to trigger this).
- Click on the disk you are concerned about from the list on the left, and then click First Aid.
- You will see a message indicating that First Aid will check the volume for errors. It will then repair the volume if necessary.

- Upon initiating this process you will see a warning that First Aid needs to temporarily lock the boot volume. This means that while First Aid is running apps won’t be responsive. The process probably won’t take long.

- If during the process Disk Utility detects any issues and it’s easily fixed, then it should be resolved quickly.
- If you are able to fix the hard drive or SSD in your Mac (or a external drive) using Disk Utility you will hopefully be able to recover your files. We suggest you back up your Mac at this point before running the risk of the disk failing again.
Over the past several years, Apple has updated Disk Utility and changed what the application is capable of. You can easily create disk partitions if desired, and you can also get extensive information about a specific volume by clicking its icon and then clicking the “Info” button.
Also, as of macOS 10.12 (Sierra), Apple has removed the ability for the local copy of Disk Utility to repair permissions, which was both handy in correcting odd software behavior but could also lead to strange behaviors from your applications. You can still repair your Mac’s file permissions, but you’ll have to back up from Recovery Mode. We have a complete guide to using Disk Utility here.
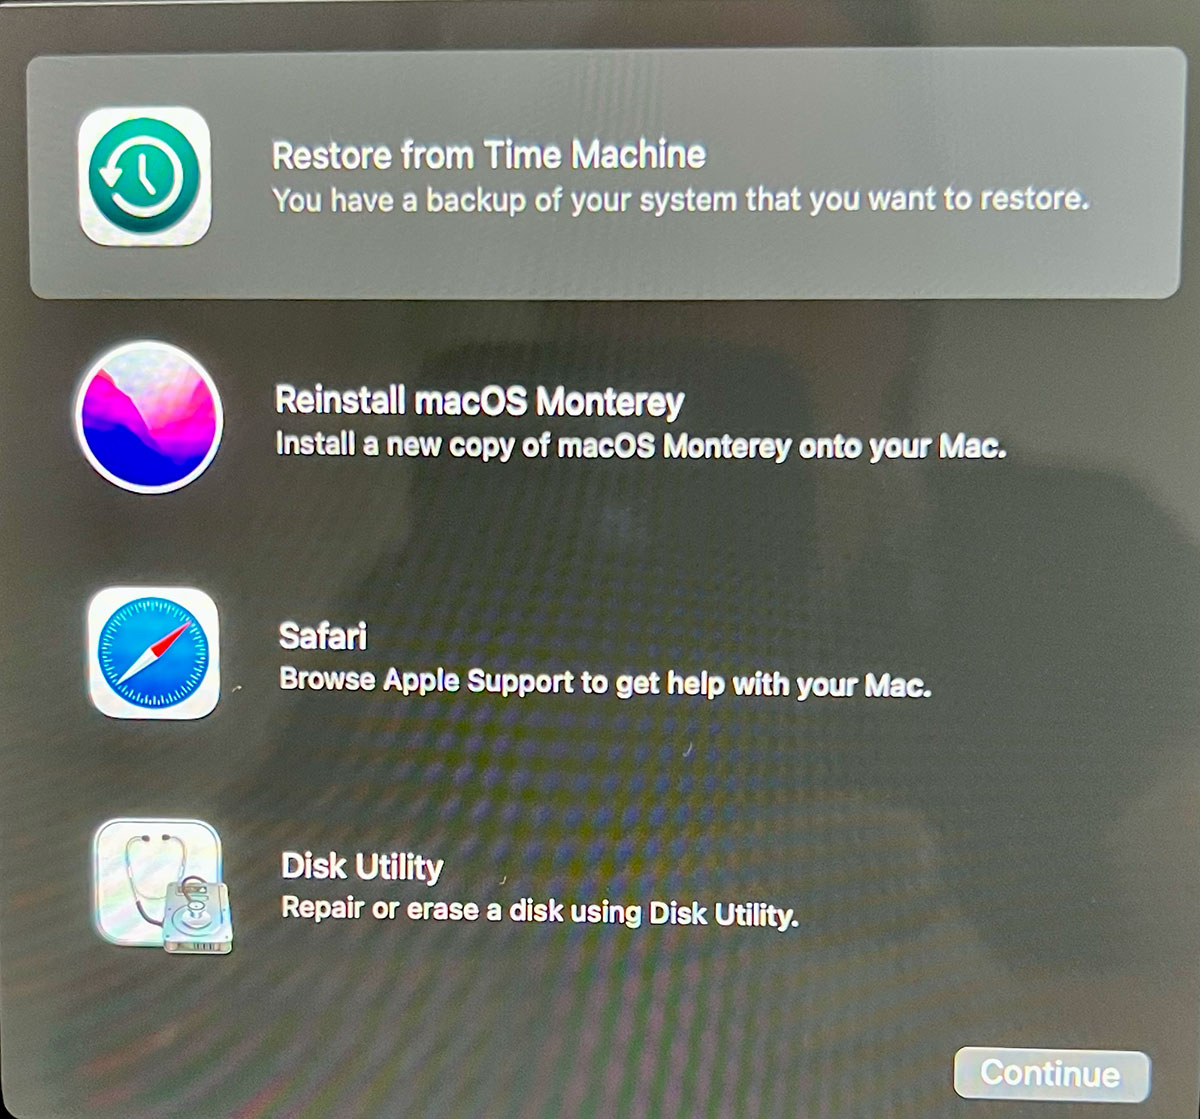
How to repair a Mac disk from Recovery mode
Foundry
Disk Recovery may not be such an easy option if you can’t actually start up your Mac. But, as long as the drive failure isn’t too terminal, a restart in Recovery mode should be possible.
Recovery is a partition on the drive that contains a version of the macOS that you can boot from. Booting from this partition doesn’t do anything to the main drive, so there’s no need to worry about overwriting documents.
- To enter Recovery on an M-series Mac press and hold the power button while the Mac starts up.
- Keep holding the power button until Options appears.
- Then click on Options and click on the Continue that appears below Option.
- Select the disk you want to recover (e.g. Macintosh HD).
- Click Next.
- Add a password if required.
- Wait for the Mac to start in Recovery.
- You can now try to fix your drive using Disk Utility as described in the section above.
Note: If you are trying to recover an old Intel-powered Mac you need to hold down Command+R while your Mac starts up. Keep holding those keys until you see either an Apple logo or a spinning globe. For more help, see our complete guide to using Recovery mode.
If you do manage to boot from Recovery, you’ll need another drive to recover files to. You should plan to get an external drive plugged in as soon as you can, so that you can secure your data there.
If Disk Utility manages to fix your drive enough to let you boot from it again, be very careful how you use it. If you have lost any data, it is very important to avoid using the drive, as anything that writes files to the drive, may be writing over your lost files. Which would render them unrecoverable.
So if you manage to resurrect your sickly drive, quit all your software, including email, to avoid overwriting any list files and attach an external drive and recover any lost files to there.
How to recover a Mac using an external boot drive

Foundry
Older, pre Mac OS X Lion Macs won’t even have Recovery mode, in which case you might want to try booting from an external drive running a copy of the Mac OS.
This may also be an option to try if you are unsuccessful booting up in Recovery mode on a newer Mac.
On older, Intel-powered Macs, plug in the boot drive (set up using the instructions linked to above) and press and hold the Option key. Then choose the external bootable drive. With Apple-silicon Macs press and hold the power button until the bootable drive shows up and choose that as your startup disk.
If this works, you’re in a pretty good position to proceed, as you will no longer be booting from the faulty disk.
You can try running Disk Utility at this point and attempt to fix the faulty drive.
Use data recovery software to recover your Mac hard drive
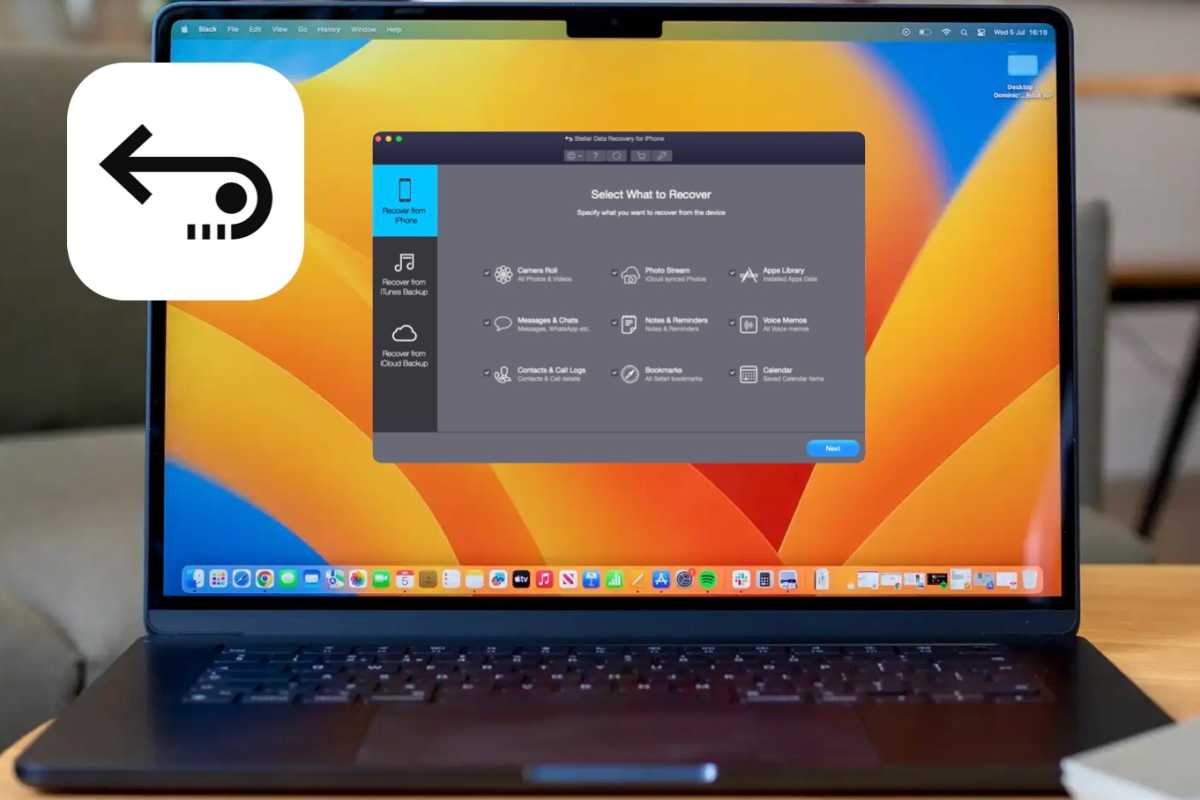
Foundry
Even if you managed to start your machine from Recovery, or an external boot drive, the volume you are trying to recover still may not show up.
In this case, data recovery software may still be able to work with that drive. As long as the OS can still talk to it, and the data is still on the drive, you still have a reasonable chance of recovering it.
The annoying thing about data recovery software is that you only really use it if you have been caught without a backup. The developers have you at their mercy, and if you have lost precious data they could charge whatever they can get away with. But it is a highly competitive market too so the pricing structure has evolved at a sort of equilibrium.
The good news though, is that developers don’t want to you spend lots of money and then comeback and complain that it didn’t work. Thus a vast majority offer a free version that will scan your disk and see what is salvageable. You can then decide of the fragments of your dead drive are worth the dollars to retrieve.
All work in a similar way. If the directory telling where files were originally stored is saveable, the rest is easy. But if that isn’t the case, the software will scan the data for familiar patterns that would denote a file type. Once they find as file type, there’s a good change that the following data will be the file. Highly fragmented hard drives might mean not all files can be retrieved, but given enough time, most will get there in the end.
It can be a time consuming process to piece the bits of files back together. But with patience, most files that haven’t been overwritten should in theory be saveable. If a hard drive is still spinning, and the head is still scanning, there is still hope. Sickly drives can take days to fully scan, and the higher capacity they are, the longer it will take. But if it’s your wedding photos, or perhaps your Bitcoin vault that is missing, you can afford to wait.
We have assessed the top Mac data recovery apps and we recommend the following options: Wondershare Recoverit, Stella Data Recovery, Prosoft Data Rescue and CleverFiles Disk Drill Pro.
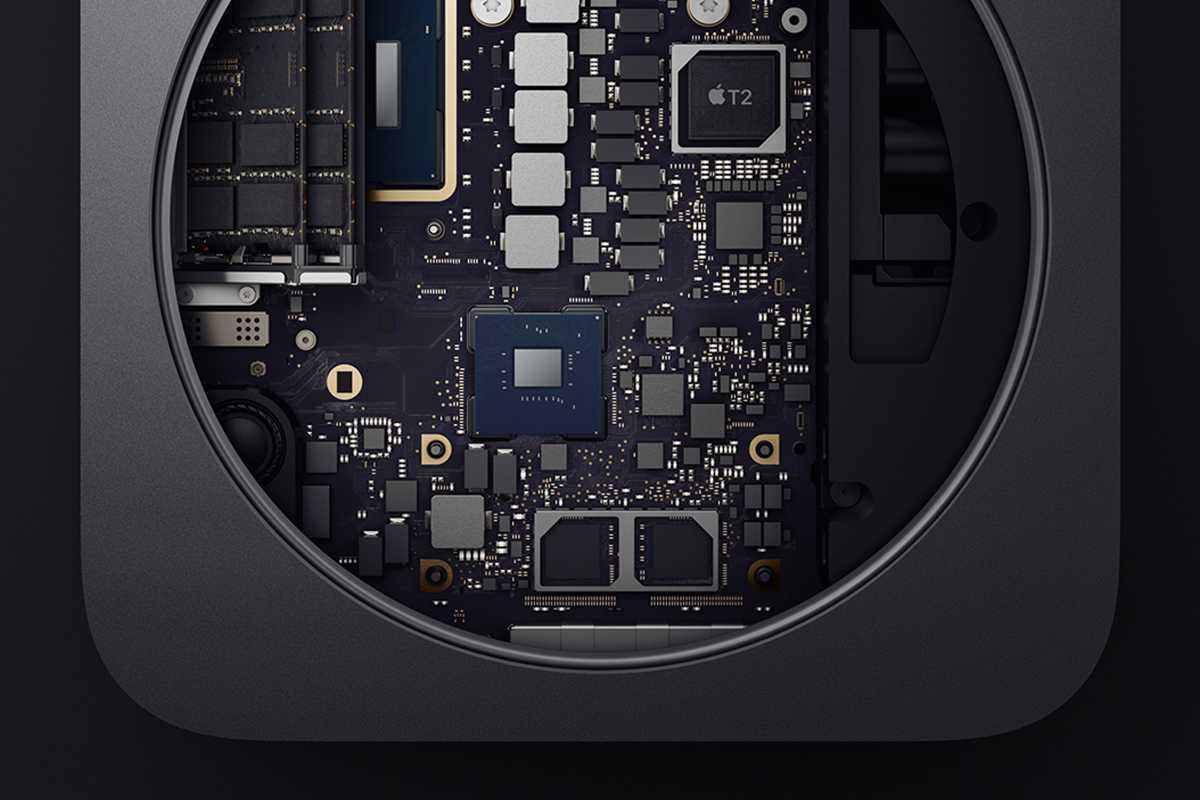
Removing your Mac’s Hard Drive or SSD
Apple
A final option if you have had no success with the above, and feel brave enough, is to try removing the hard drive or SSD.
This will not be an easy option if you have an SSD. If there’s one thing that’s annoyed Mac techies in recent years, it’s the fact that since 2016, Mac models have arrived with the SSDs soldered onto the logic board. There are both pros and cons to this, but the simple fact is that if the onboard SSD goes south, you’re looking at replacing the entire logic board. This also puts the user in the position of having to guess what their data needs will be and buy an SSD with a larger capacity than they might initially have thought they needed, which ramps the price up a bit higher.
Another major downside to this is that it’s extremely difficult to remove the onboard SSD, and unless you feel comfortable soldering and resoldering microcircuitry, it’s not advised to try to remove the unit from the logic board.
If you are trying to recover an older Mac, removing the Mac’s internal hard drive may be an option.
If you have the tools on hand, you could try these steps:
- Power down your Mac.
- Unplug its cables.
- Open its case.
- Find the internal hard drive or SSD and carefully remove it.
- Put the drive in an external USB casing
- Connect the external drive to another Mac.
- Mount the drive, and see what data can be recovered from this.
I’ve spent half my tech career doing this and it usually works out, although it’s moderately terrifying to open any Mac up for the first time.
Provided the hard drive or SSD is in good enough shape to mount, this lets you dive in, seek out the files you want, and back them up first. Keep in mind that your hard drive or SSD may be experiencing mechanical problems at this point, so treat the drive gently, and try to get the critical files within the first few times mounting it, as this is when the drive will be in the best possible condition.
Once the critical data has been backed up, you can return the hard drive to your Mac or replace the drive outright and restore the data as needed later.
In conclusion, if you don’t need data recovery right now, then do yourself a huge favour and make sure your backup strategy is up and running and fool proof. A little pain now will save you a world of hurt in the future. If you have already lost some data, then the process outlined here will help. But without wishing to pour salt in the wound, now would be a really good time to take a look at your back-up strategy. You can find a very comprehensive backup strategy here: How to back up your Mac.
For more advice about backing up your Mac see our round ups of the Best cloud storage services and Best backup software for Mac.

Average Rating