What are the best Silksong Tools? It’s an understatement to say that Silksong is challenging. While some players are reveling in the undertaking, others are struggling with tough bosses and even tougher runbacks. If you’re in the latter camp, we feel your pain, so we’ve done our research to help you (and ourselves) out.
You may get some way through the Silksong map before even realizing how to equip Hollow Knight Silksong Tools, but these valuable items are essential to your success. There are three tool types, limited slots, and secret locations to get to grips with if you’re going to unlock the best tools in the Metroidvania game. Here are all the Silksong Tool locations and which ones you should be using.

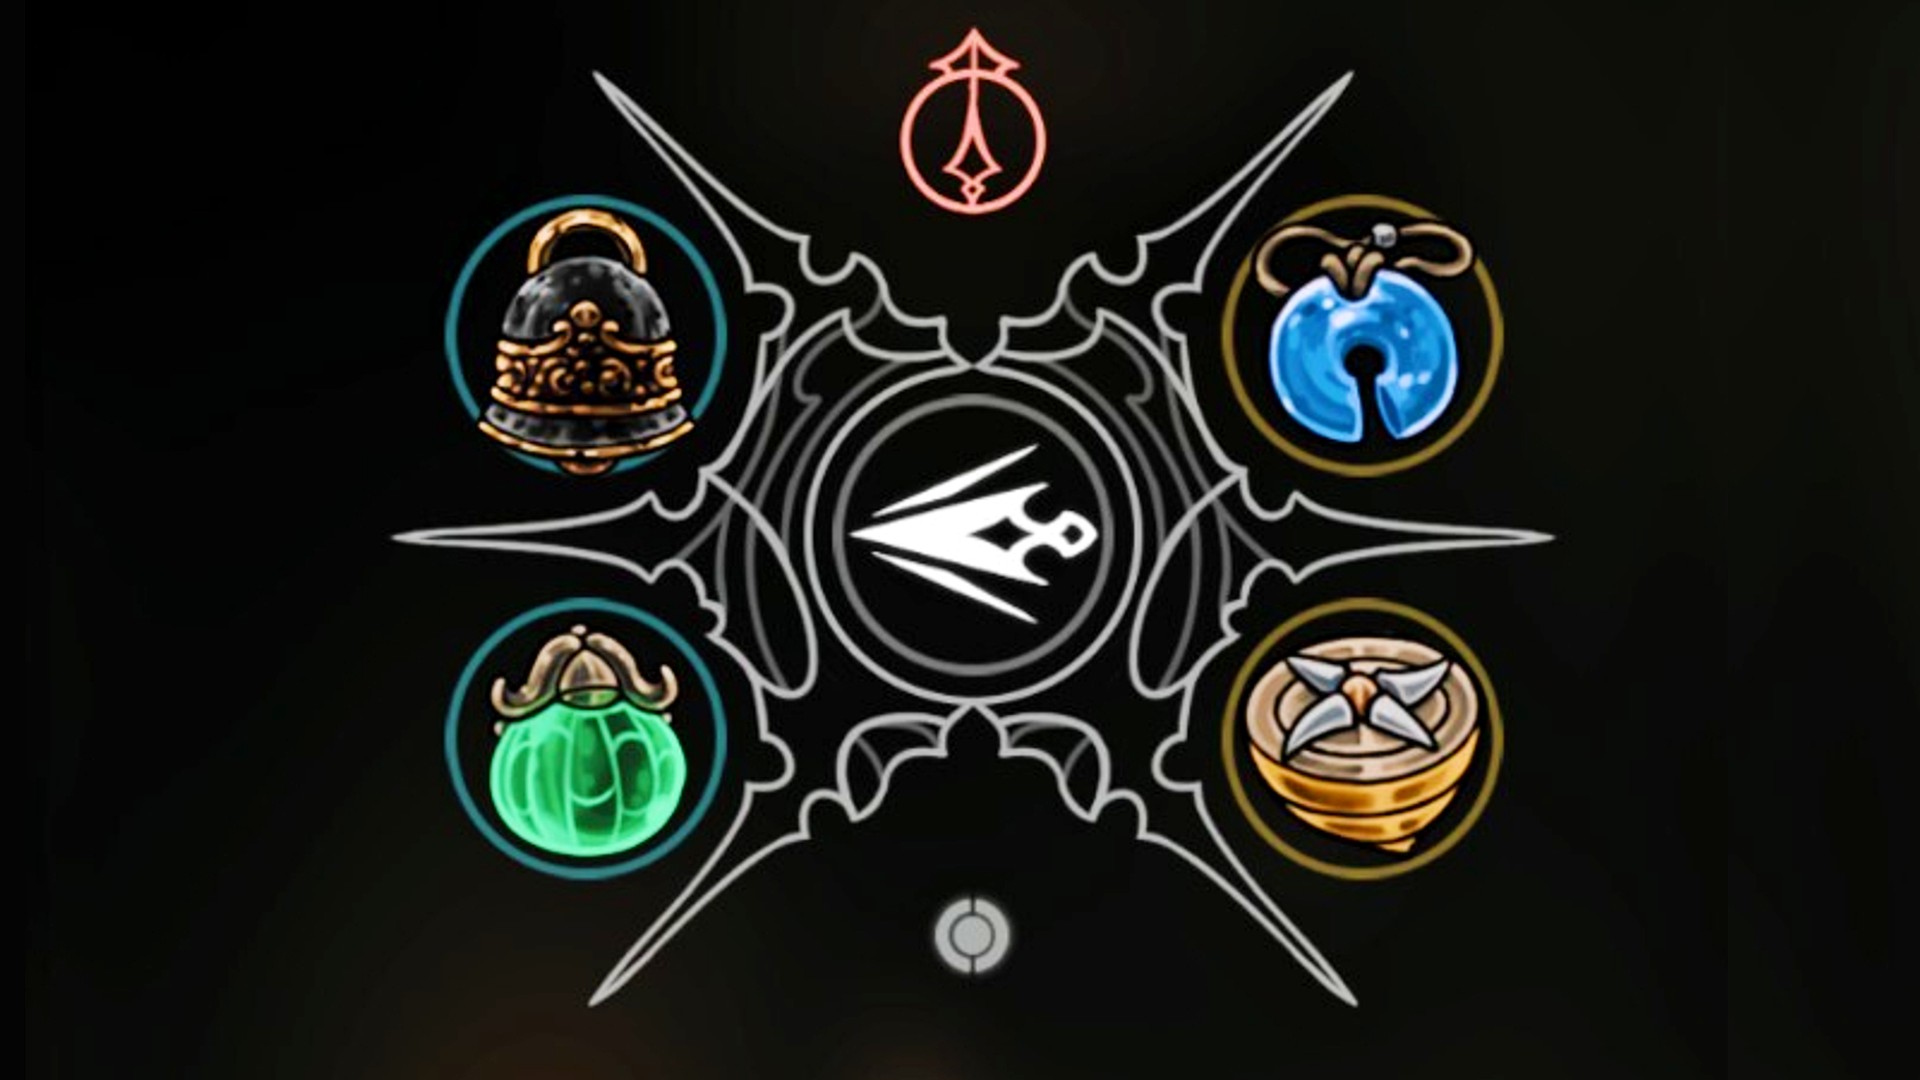
The best Silksong Tools
Here are the best Silksong Tools in each tool type:
- Best red tools: Straight Pin, Sting Shard, Plasmium Phial
- Best yellow tools: Compass, Magnetite Brooch, Dead Bug’s Purse
- Best blue tools: Druid’s Eye, Pollip Pouch

Best red tools
Red tools improve your attack capabilities, providing you with new ways to eliminate enemies. These weapons are generally ranged, and all red tools are limited, regenerating every time Hornet sits at a bench or rest spot. You will need Shell Shards to replenish these tools; otherwise, you won’t be able to use them.
For the best red tools, you’re best equipped with the ranged Straight Pin to start with. A simple tool that provides you with 12 throwable daggers, the Straight Pin gives you a long-range weapon to fight against pesky flying foes.
Depending on your playstyle, you could swap it out for the Sting Shard to place damaging traps on the battlefield instead, giving you a more passive secondary weapon. With an additional slot, the extra mask of health provided by the Plasmium Phial is an excellent choice for those who take a lot of damage, but we’d prioritize using Memory Lockets on yellow slots first.

Best yellow tools
Yellow tools are for exploration, aiding you in finding your way around the mammoth Silksong map or helping you find and collect valuable items from your surroundings.
One of the best yellow tools you can acquire early on is the Compass, as the map takes some getting used to. Once you have a Memory Locket, it’s beneficial to add the Magnetite Brooch to hoover up any loose rosaries, particularly useful on Silksong Rosary farming runs. Swap this out for the Dead Bug’s Purse when you have it, allowing you to keep some of your rosaries upon death.

Best blue tools
Blue tools are passive defensive tools that provide valuable support for Hornet during combat. Almost any combination of blue tools will prove beneficial, but they take a while to unlock.
The first choice is the Druid’s Eye, which can be picked up fairly early in the game after completing the Mossberries quest. Granting bonus Silk when taking damage, the Druid’s Eye allows you to heal or use your skill more often. If you can equip a second blue tool, we’d recommend the Pollip Pouch which applies venom to your weapon to deal additional damage, available once you reach Shellwood.

How to equip tools
Equipping tools is as simple as dragging an item into a slot on your Crest menu. However, you must be seated at a bench or rest spot to do so. This means you can’t switch tools at will, so you must plan ahead. For example, you may want to equip the Magma Bell if you know you’re about to enter the Deep Docks, then take it off again when resting on the other side.

Extra tool slots
You can unlock one additional slot for each tool type using Memory Lockets. These can be found across Pharloom and purchased from various vendors, including Mort, who also sells a Tool Pouch, another method for increasing tool capacity.
You should also bear in mind that additional slots are locked to the current Crest and won’t carry over to another, so be careful when using Memory Lockets. Check out our standalone guide if you need to know more about Silksong Crests.
All Silksong Tool locations
| Tool | Tool Type | Description | Location |
| Straight Pin | Red | Grants 12 throwing tools per rest, which can be thrown in quick succession at a distance. | Rescue Grindle from his cell at the far right of The Morrow. |
| Threefold Pin | Red | Grants a triple attack with three blades thrown at 45-degree angles, like the Squatcrow attack. Can be used ten times. | Complete the combat room at the eastern end of Greymoor. |
| Curveclaw | Red | An offensive curved tool with eight uses per rest that’s ideal for taking on flying foes. | Purchase from Mottles Skarr in Hunter’s March for 140 Rosaries. |
| Sting Shard | Red | Places a trap of blades that pierces foes who come into contact with it. Can be used up to six times per rest. | Purchase from Forge Daughter in Deep Docks for 140 Rosaries and one Craftmetal. |
| Longpin | Red | Able to pierce tough shells. | In a small room on the Bellhart map that is only accessible from Shellwood, behind a Wood Wasp nest. |
| Flea Brew | Red | Temporarily increases movement and attack speed. | Complete Grishkin’s The Lost Fleas Wish in southwest Greymoor. |
| Plasmium Phial | Red | Grants an immediate but temporary health boost. | Complete the Alchemist’s Assistant Wish for Alchemist Zylotol in Wormways. |
| Conchcutter | Red | Throwable weapon that bounces off surfaces. Can be used eight times per rest. | On a shrine in Coral Tower to the north of Sands of Karak. |
| Snare Setter | Red | Places a Silk rune that ignites when foes come into contact with it. Can be used up to five times per rest. | Complete the Silk and Soul Wish by completing all other wishes and speaking with the Caretaker in Songclave. |
| Silkshot | Red | Shoots shell canisters. Can be used up to eight times per rest. | Find the Ruined Tool past the Needolin door in southeast Bilewater and restore it with Forge Daughter. |
| Throwing Ring | Red | Throwable weapon that bounces off walls and enemies. Can be used ten times per rest. | Complete Shakra’s Trail’s End Wish. |
| Pimpillo | Red | Explodes on impact with enemies or when ignited by its fuse. | Inside a secret room to the north of Yarnaby’s Bellhome. |
| Cogfly | Red | Seeks out and damages nearby enemies. | Crafted at a bench in the middle of High Halls using one Craftmetal. |
| Compass | Yellow | Shows Hornet’s location on the map. | Purchase from Shakra for 70 Rosaries. |
| Shard Pendant | Yellow | Enemies drop more Shell Shards. | Pick up from a small room in the center of The Marrow. |
| Magnetite Brooch | Yellow | Automatically collect nearby Rosaries. | Purchase from Pebb in Bone Bottom for 120 Rosaries. |
| Weighted Belt | Yellow | Weighs you down, reducing knockback from enemy attacks and recoil from your own. | Purchase from Mort in Pigrim’s Rest for 160 Rosaries. |
| Dead Bug’s Purse | Yellow | Allows you to retain some rosaries upon death. | Pick up from a corpse in a guarded room in the northeast of Wormways. |
| Silkspeed Anklets | Yellow | Consumes Silk to increase your speed. | Far Fields, in the far southeast room of the entire map. Requires Needolin and Swift Step. |
| Magnetite Dice | Yellow | Has a small chance to negate damage. | Obtained from Lumble the Lucky in Blasted Steps. |
| Ascendant’s Grip | Yellow | Piton that allows one to hold in place on a wall. | Purchase from Jubilana in Songclave for 350 Rosaries. |
| Spider Strings | Yellow | Expands and strengthens the effects of the Needolin. | Purchase from Jubilana in Songclave for 320 Rosaries. |
| Rosary Cannon | Yellow | Shoots Rosaries. | Inside the Rosary Storage in High Halls, requires a Simple Key. |
| Druid’s Eye | Blue | Earn Silk when taking damage. | Complete the Moss Druid’s Wish in Mosshome by collecting three Mossberries. |
| Magma Bell | Blue | Reduces the damage Hornet takes from lava and fire. | Purchase from Forge Daughter in Deep Docks for 110 Rosaries and one Craftmetal. |
| Warding Bell | Blue | Provides a shield while healing. | On a platform in a room to the south of Far Fields. |
| Pollip Pouch | Blue | Applies venom to your equipped tool, dealing additional damage to enemies. | Gather six Pollip Hearts for Greyroot in a small room in the center of Shellwood. |
| Snitch Pick | Blue | Shoot at foes to steal rosaries and shell shards, while causing additional damage. | Purchased from Grindle in Blasted Steps for 740 Rosaries. |
| Multibinder | Blue | Increases the healing effect of Binding, but takes longer. | Purchase from Frey in Bellhart for 880 Rosaries. |
| Wispfire Lantern | Blue | Spawns wisps that deal damage to enemies. | Defeat Father of the Flame in the northermost room of Bellhart. |
| Quick Sling | Blue | Doubles thrown tools. | Above a breakable ceiling in Bilewater. |
| Injector Band | Blue | Increases Binding speed. | Pick up in the southeast of Whiteward. |
| Volt Filament | Blue | Imbues Silk Skills with an electric charge. | Defeat Voltvyrm in the Volnest to the north of Sands of Karak. |
| Weavelight | Blue | Increases the rate of Silk regeneration. | Inside the hanging decoration in the Moss Mother boss room at the far west of Weavenest Atla. |
| Pin Badge | Blue | Reduces the charge time of Needle Strike. | Defeat the Pinstress boss north of The Slab. |
| Egg of Flealia | Blue | Decreases the cost of Silk Skills while health is full. | Find every Lost Flea. |
| Claw Mirrors | Blue | Unleashes a blast attack during binding. | Defeat Tormented Trobbio in The Stage. |
| Spool Extender | Blue | Provides additional Silk storage. | Purchased from Jubilana in Songclave for 720 Rosaries. |
| Reserve Bind | Blue | Provides a single emergency Bind per rest. | Defeat Second Sentinel in High Halls. |
| Longclaw | Blue | Increases the range of Needle attacks | Complete the Broodfeast Wish in Putrified Ducts. |
| Wreath of Purity | Blue | Repels Muckmaggots but is breakable. Can be repaired at benches. | Found to the east of Putrified Ducts. |
| Memory Crystal | Blue | Creates a crystal form of Hornet that shatters into sharp spines upon contact. | Inside an Ice Shard in the Mount Fay tunnels. |
And that’s all you need to know about the best Silksong Tools. If you’ve missed any of the tools in this guide, you can get back to them quickly using Bellways, and you’ll be well on your way to defeating the remaining Silksong bosses.
Source link
Hollow Knight: Silksong,Team Cherry,Puzzle,Indie

Average Rating